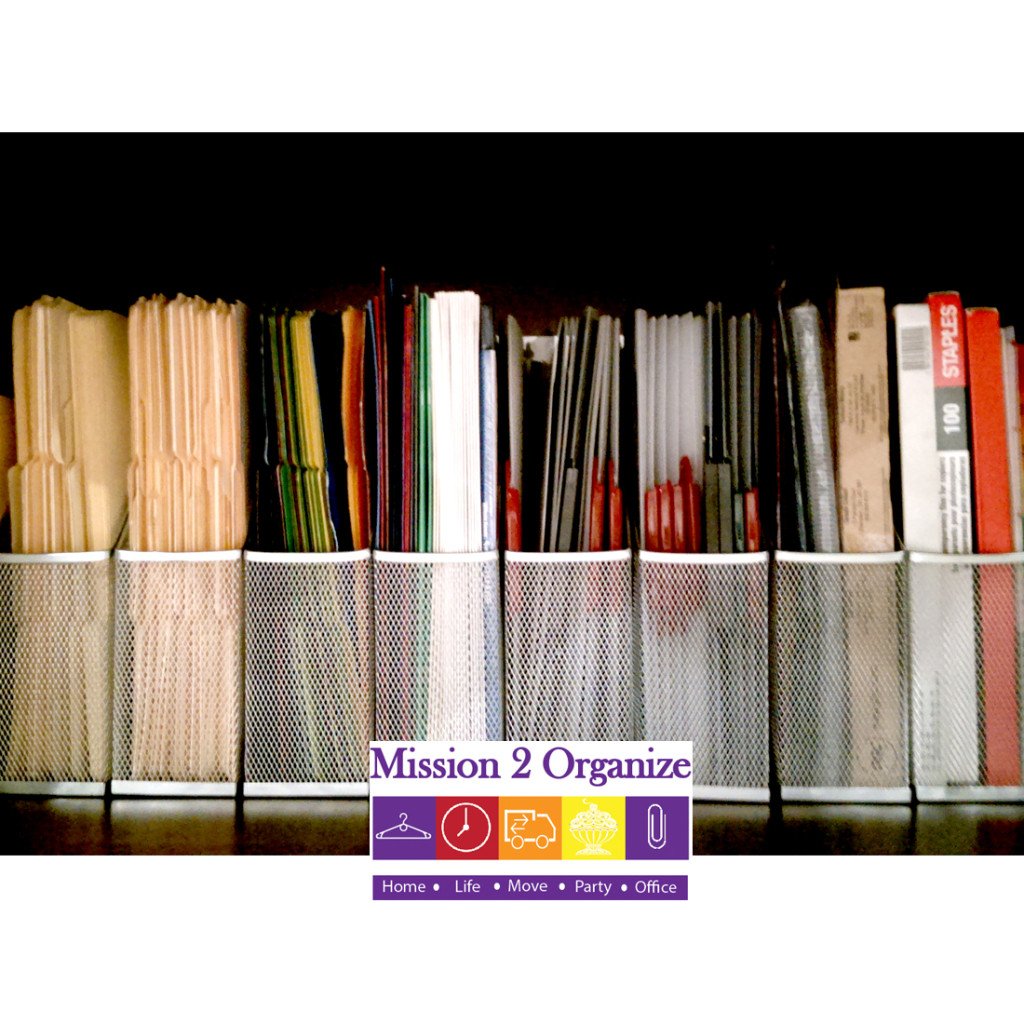
Every organizing project follows the same basic steps: sorting, purging, containing and designating a space for your items. When you’re organizing paperwork, you follow the same steps. In this article, however, we are going to go another route and give you a few notes specifically targeting the de-cluttering and management of your medical files.
Whether you are dealing with paperwork or kitchen appliances, most people find that the hardest part of organizing is deciding what stays and goes. This process requires decision making which can be stressful and time consuming. To make this process easier, follow these notes. Keep in mind, these principles can be applied to any paper organizing project.
TIP 1 – Identify What is Necessary
When it comes to purging, the most important part is to separate the papers that you need to keep from papers that you can let go off. Some items are easy to eliminate like old diet plans or old appointment reminders. On the other hand, you may want to keep all medical receipts, organized by year, to use at tax time.
When it comes to things like notes and test results, it gets a little more complicated. At any point in your life, you could need access to your medical history so make sure you always have a good running record of diagnoses and test results. You may want to retain your insurance forms and bills for at least five years in case of a disputed charge. For most people, keeping your treatment records for one year is enough. These could include procedural information, doctor notes and discharge instructions.
Any of the papers you decide to discard should be handled with care. Many of these papers will include your name address, account numbers and even more private information. It’s recommended that all of these papers are securely shredded. Keeping your documents free from medical fraud should be a high priority.
TIP 2 – Differentiate Immediate from Archive
Once you have identified what needs to stay in your current file and what needs to be shredded, you are left with items that fall into the archive category. These are the items that you might need someday but not immediately. Store in waterproof containers out of the way. Ideal spaces are storage areas, attics, basements, the top of your office closet or even under your bed depending on how often you access these files and their size. The point is to have them out of your main working and living space but protected and stored away until you need them. Tip #4 below, is an awesome way to deal with archived files.
TIP 3 – Consolidate
Now go through the papers you’ve decided to keep and see what you can consolidate into a reference document. For example, create a directory or spreadsheet with all your doctors’ contact information, names, facility location and rates. You can even compile lists of medications, symptoms and side effects in separate documents. These reference documents not only help you to locate what you need very easily, but you can keep track of any changes while minimizing the amount of paperwork you are keeping. Keep in mind, you can create these documents online or offline depending on your preferences.
Additionally, if you find yourself overflowing with any particular type of paper, bind them. Get out your 3-hole punch or sheet protectors and that extra binder that’s been hiding in the bottom of your drawer for decades and clamp them all together. This makes it easy to flip through and find what you need without having to hunch over your filing cabinet. This technique is especially helpful for those with chronic and terminal medical conditions. You can even make a binder for the whole family, separating each family member using a tabbed divider.
TIP 4 – Go Digital
Technology can be used to your advantage to de-clutter your files and keep everything easily accessible. We highly recommend that you don’t skip this step. Scanning your health documents is the easiest way to go digital. Be sure to organize them into folders named according to their category so you can find them when you need them. Emergency information updates can be kept in a digital file marked “Vital.”
Apps help you to keep track of your records, medications, appointments and lots more. Many medical providers and insurance companies even have their own apps now. Consider taking pictures of medicine boxes instead of letting the boxes pile up. You can also take a picture of any number of other papers including doctor’s notes. This will free up a lot of extra room in your physical files.
Use your regular online calendar to make sure you don’t miss any doctor appointments or follow up treatments. When making the digital transition, it is always a good idea to keep a backup of your important digital files on an external hard drive and protect it in a fireproof case or off-site safe.
Once you are done organizing your files, set up a system to de-clutter them regularly. Also consider unsubscribing and going paperless as often as possible to prevent more clutter from coming to your home. Many people achieve this with scan to PDF software similar to FilecenterDMS, whilst others choose to change all other correspondence to digital-only where possible. Good luck organizing your medical files! Let us know if you have questions and if you need help with this or any other organizing task. We have many resources on our site and our YouTube channel about organizing your files and your office space. We are always happy to help you reach your organizing and productivity goals and to achieve a happier and more stress-free life.


